
Last updated November 21, 2026
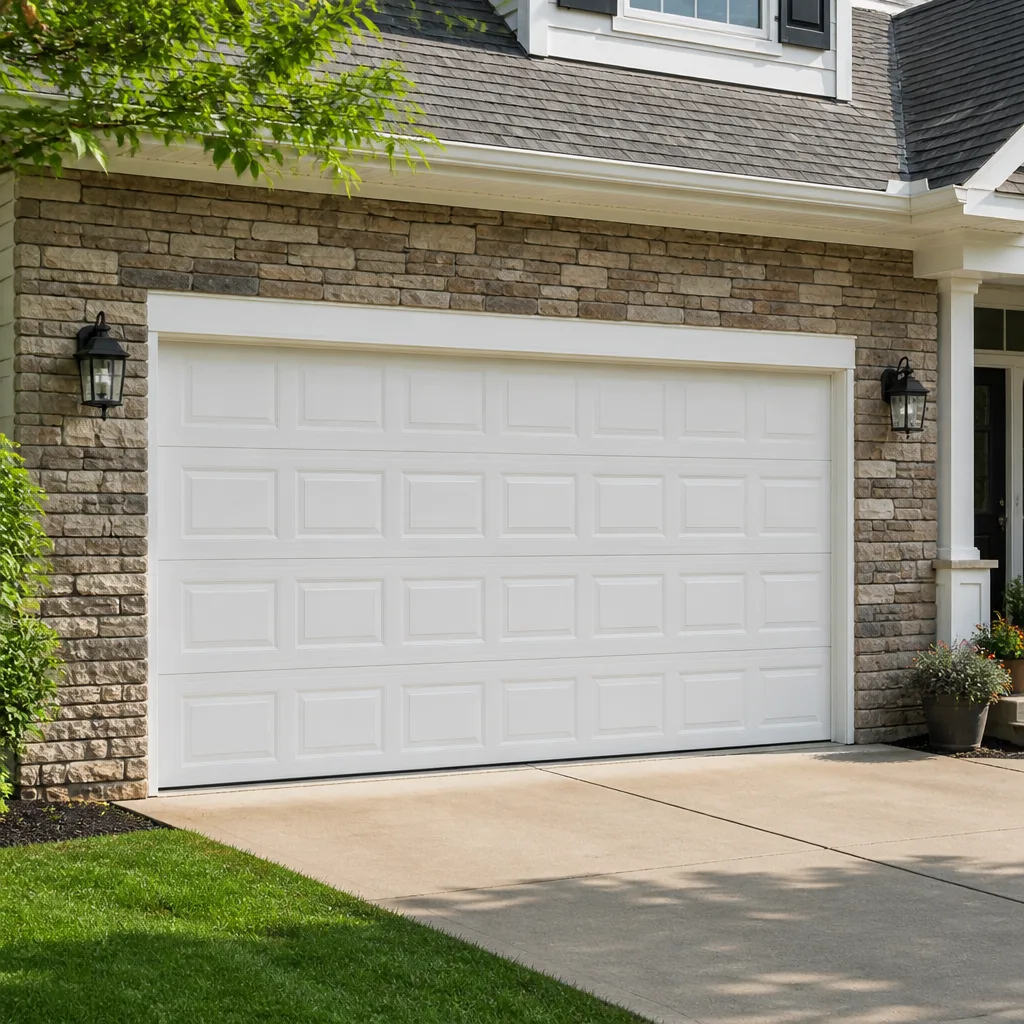 Raised-panel steel
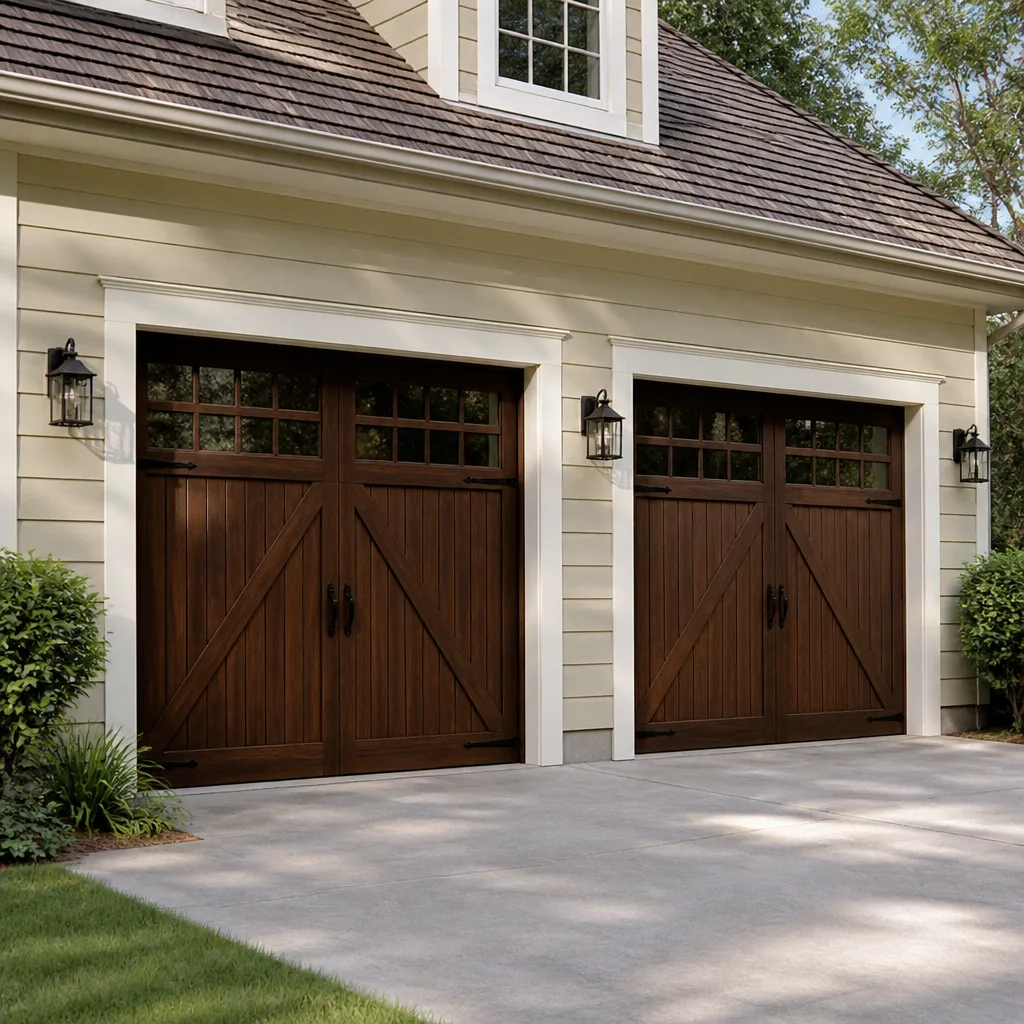 Carriage house
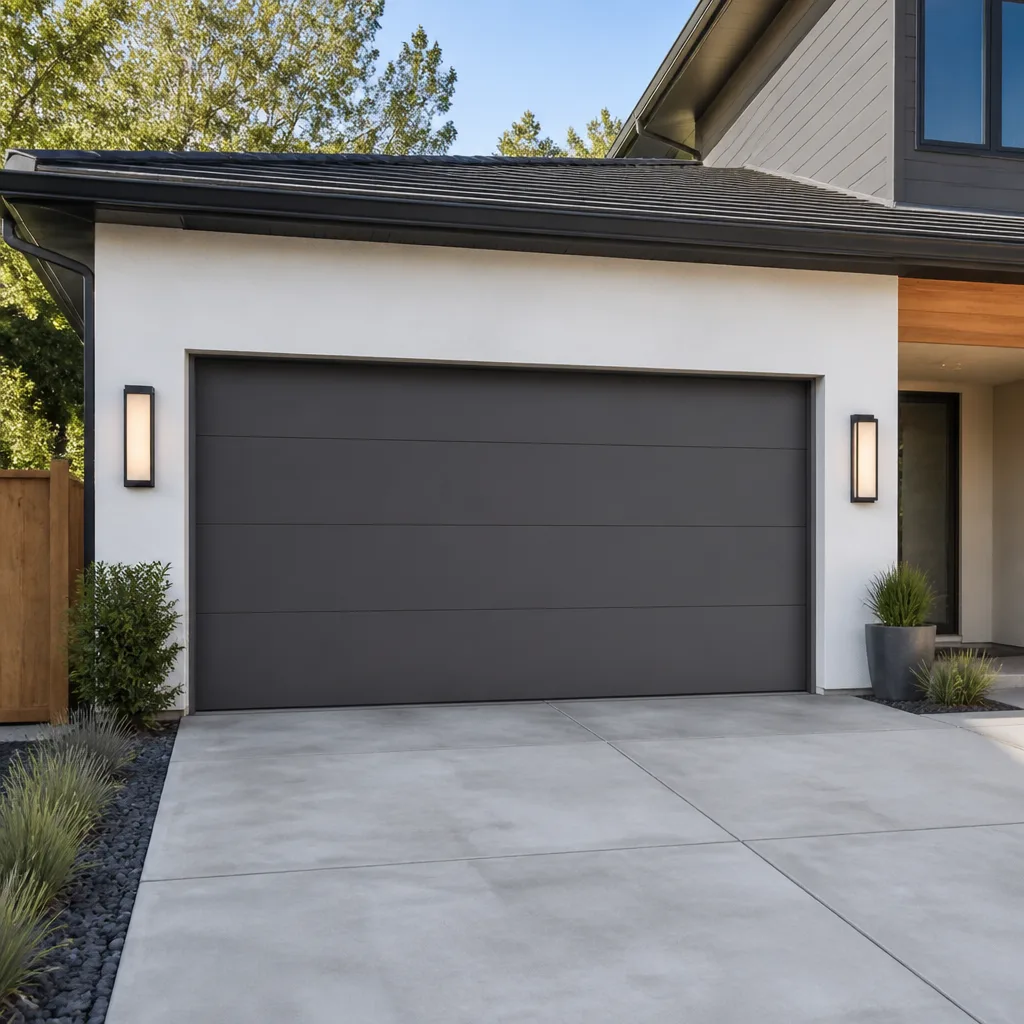 Modern flush
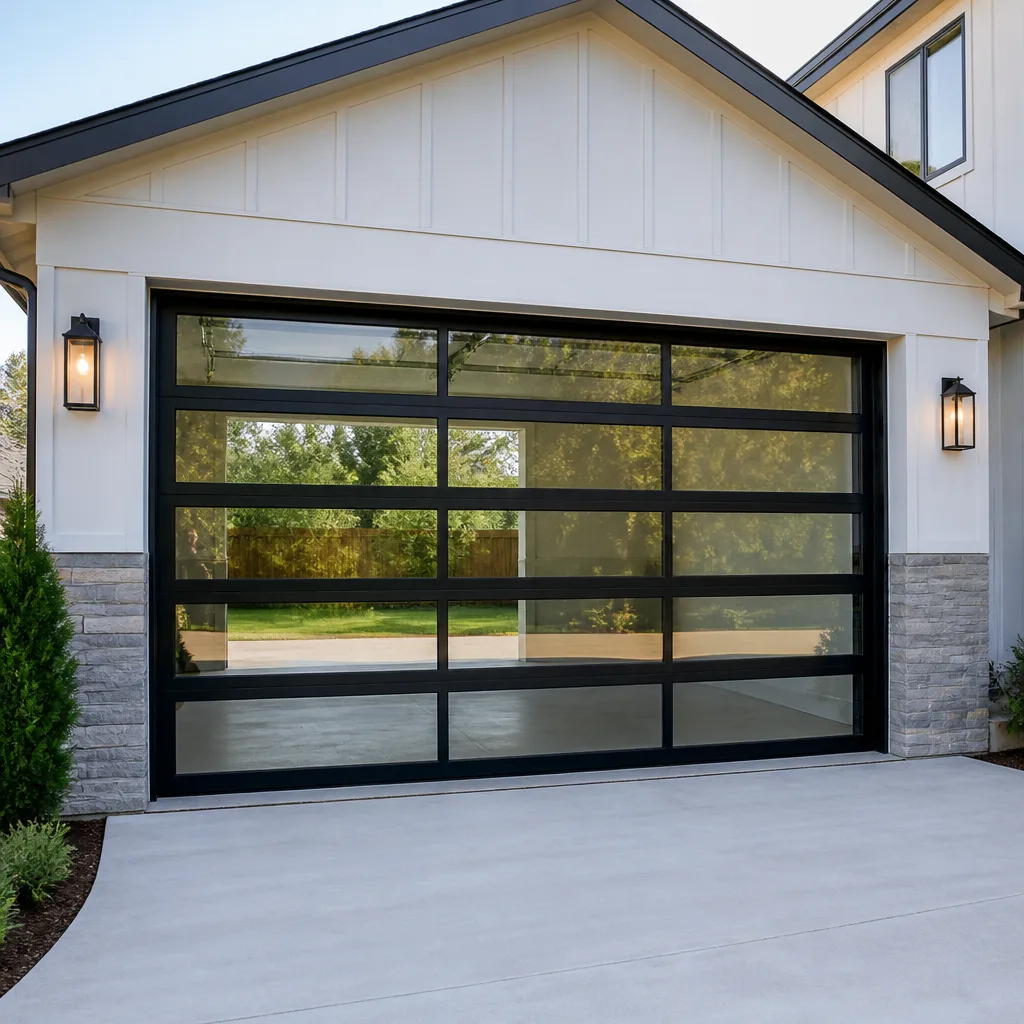 Full-view glass
 LiftMaster openers
 Chamberlain openers
Full 25-point door and opener safety check with every visit - springs, cables, rollers, tracks, and your LiftMaster or Chamberlain opener included
You get a price before we start. It does not change when the pro arrives.
Get your free estimateGarage Door Repair Maintenance Checklist for Richmond Homeowners
The number-one cause of emergency garage door calls in Richmond isn’t a snapped spring. It’s a small lubrication or alignment problem that sat ignored long enough to turn into a stuck door. We’ve seen this pattern repeat across every season change, and it’s almost always preventable. A 15-minute quarterly check catches the wear long before it strands your car or leaves the house open. This guide gives you a Richmond-specific maintenance schedule, built around the humidity, storm cycles, and temperature swings this city actually gets, plus the sounds and resistances worth logging so a technician arrives already knowing what’s wrong.
Quick Answer
An effective garage door maintenance checklist in Richmond covers four things every three months: lubrication of moving metal parts, a balance and travel test, sensor confirmation, and a visual inspection of springs, cables, and rollers. The schedule is front-loaded around Richmond’s humid summers and its spring and fall temperature swings, when hardware expands, contracts, and loosens fastest. A properly maintained door should open quietly, reverse on contact, and move with one hand of pressure at the halfway point.
Styles & brands we work with
- Raised-panel steel
- Carriage house
- Modern flush
- Full-view glass
- LiftMaster openers
- Chamberlain openers
Table of Contents
- Why Richmond Conditions Wear a Garage Door Faster
- A Month-by-Month Maintenance Schedule for Richmond
- Which Parts Fail Fastest in Richmond’s Humid Summers
- What to Lubricate, and What to Leave Alone
- Testing Auto-Reverse and Photo-Eye Sensors Properly
- Building a Diagnostic Log: Sounds and Resistances to Track
- What to Check After a Severe Thunderstorm
- What a Professional Visit Covers That Yours Won’t
Why Richmond Conditions Wear a Garage Door Faster
Richmond sits in a climate that hits a garage door harder than a mild coastal or dry-desert city would. The summers are long and humid. The shoulder seasons swing hard between warm afternoons and cool nights. Winter drops below freezing often enough that the wood, metal, and seals all cycle through expansion and contraction on a schedule that isn’t gentle. That combination is what drives the wear chain: moisture creeps into hinges and rollers, temperature swings loosen fasteners, and by the time you notice a rough opener, three small issues are stacked into one service call.
Homeowners in older neighborhoods like the Fan District and Church Hill often deal with detached or semi-detached garages that see more ground moisture and less climate control than a newer build out in Short Pump. That changes what to prioritize. A door on a damp, shaded garage pad will corrode faster than one on a garage that gets direct sun and airflow, even if both doors are the same age and brand. If your garage sits at a lower grade or takes runoff from a sloping yard, spend more of your inspection time on the bottom section and the hinges that hold the lowest panel.
The three wear zones closest to Richmond ground
- The bottom seal and bottom section – ground moisture and summer humidity attack these first.
- Hinges and rollers – the parts that move most often under the widest temperature range.
- The opener rail and its connections – where contraction over a cold snap can loosen the lag screws that hold the whole assembly.
The takeaway is simple: a maintenance schedule that treats all four seasons as equal misses where Richmond actually puts the stress. The month-by-month schedule below reflects that imbalance.
A Month-by-Month Maintenance Schedule for Richmond
Most checklists hand you four equal “seasonal” blocks. In Richmond, the wear doesn’t split that way. The schedule below follows the actual weather rhythm, front-loading the checks that matter when it’s about to change.
January through February: the cold-snap check
This is when contraction is at its worst. Fasteners loosen, weather seals stiffen, and the door runs slower than usual. Check the rail bolts on your opener and any brackets holding the door to its frame. If a bolt turns easily by hand, it has backed off. Confirm the door closes fully and seals along the floor; a gap at the bottom here lets in cold air and, later, warm humid air.
March through April: pre-humidity prep
This is the highest-value window of the year. Before the humidity climbs, lubricate every moving metal part, clean and lightly treat any exposed wood, and check the springs and cables for rust bloom. If your door is going to get sticky and slow by July, this is when you prevent it.
May through August: the humidity watch
Peak-severity stretch. Rollers get sluggish, the opener works harder, and the automatic reverse feature gets tested under the most resistance it will see all year. Keep the track clean. Re-lubricate steel and aluminum moving parts at least once mid-summer. Watch the bottom seal for mold and peeling.
September through October: storm and wind-down
Storm frequency peaks around Richmond summers and early fall. Post-storm inspections (covered later) matter most here. This is also a good time to check the balance of the door before winter, because a door that’s badly out of balance in fall will strain the opener all winter.
November through December: winter prep
Investigate the bottom seal for gaps, check the door’s travel limits so it doesn’t force against the ground, and confirm the weather stripping on the sides. A winter door that seals fully runs less, and less running means less wear on the opener.
Quick calendar view
- Quarterly (all year): balance test, sensor test, visual inspection, listen.
- Before May: full lubrication and rust check.
- Before November: seal check, travel-limit check, fasten down hardware.
- After any storm with strong wind or impact: full post-storm inspection.
Which Parts Fail Fastest in Richmond’s Humid Summers
Humidity is the single biggest driver of premature garage door wear in Richmond. Several components are far more vulnerable than they look, and each responds to a different kind of product. Here’s the practical breakdown.
- Steel rollers and hinges – surface rust first, then sticking. A lubricant that films over but also displaces moisture works better than a dry spray, which evaporates and leaves metal exposed. Look for a moisture-displacing penetrant marketed for moving parts, not a light household oil.
- Torsion and extension springs – humidity won’t snap a spring directly, but rust and pitting along the coil can start a fatigue crack. A light coat of a spring-safe lubricant (not grease, which traps grit) slows this.
- Bottom rubber seal – absorbs moisture, then peels or grows mold. Replace it when it starts to crack or look fuzzy along the bottom.
- Wood sections on older doors – absorb humidity, then warp. Look for a penetrating sealant, not a film-forming paint, which traps moisture underneath.
Brand doesn’t change the chemistry. The same failure modes show up on a Clopay door and an Amarr door, because both use steel, aluminum, wood, and rubber. The correct product type matters far more than the label on it.
A note on wood-bodied and aluminum doors
Wood-bodied doors in Richmond’s humidity tend to warp at the edges first, where the panels get the least airflow. Aluminum doors don’t warp, but they can pit along the bottom. If you’re unsure what your door is made of, a magnet will tell you quickly: steel attracts, aluminum doesn’t. Knowing that shape matters for picking the right product to apply.
What to Lubricate, and What to Leave Alone
The single most common maintenance mistake we’ve seen in Richmond is over-lubricating some parts while skipping the ones that actually need it. The rule is simple: moving metal gets lubricant, springs and tracks get a thin film at most, and anything with rubber or plastic in the load path gets none.
Lubricate these
- Hinge pivots
- Roller bearings and stems
- Lock rods and latches on manual doors
- Opener arm joints
Use a thin trailing film on these
- Torsion spring coils
- Extension spring coils
- The curved section of the vertical track
Leave these alone
- Roller wheels, if they’re nylon or plastic (lubricant attracts grit and causes them to bind)
- Photo-eye lenses (clean with a dry cloth only)
- Opener limit switches
Apply lightly. A shot of a moisture-displacing penetrant on each hinge and roller stem, a single pass over the springs, and that’s it. Excess product runs down the door and collects grit, which is worse than nothing. Once per quarter, with an extra pass at the start of summer, is the right cadence for this climate.
Testing Auto-Reverse and Photo-Eye Sensors Properly
Most people test these by slowly lowering the door onto a broom handle and watching it go back up. That test has a flaw: it confirms the mechanical reverse feature, but it doesn’t confirm the sensor at all, and it doesn’t confirm the door will reverse on a fast-moving object. Here’s the version we recommend for Richmond homeowners.
The auto-reverse test (contact and pressure)
- Clear the area under the door.
- Lay a rigid object of a couple of inches thickness across the center of the opening.
- Press the wall controller so the door closes normally.
- The door should stop and fully reverse on contact with the object. If it pauses, stutters, or only lifts a few inches, the pressure setting or the opener’s force limit is wrong.
- Repeat mid-opening and near-closing. A door that reverses near the top but not near the bottom is a warning sign.
The photo-eye sensor test
- With the door open, stand outside the line of the eyes and pass an arm or object slowly across the beam. The door should not close at all while the beam is broken.
- Block one eye, then press the wall controller. The door should not move.
- Repeat with the other eye blocked.
- Now test the beam at the full close position: as the door comes down, break the beam with a moving object. The door should reverse immediately.
If either test fails, stop using the door. Photo-eye failure is usually alignment or a dirty lens, but if the lights on the sensors aren’t solid after cleaning and re-aiming, an opener problem may be involved. That’s a job for a dedicated garage door repair team, not a step to push through yourself, because the door operates without its primary safety barrier until it’s fixed.
Building a Diagnostic Log: Sounds and Resistances to Track
A technician’s job gets easier when they know what the door sounds like over time. That’s not a figure of speech. If you can tell a technician, “it started a light clunk at the top of travel about three weeks ago, and it’s gotten louder,” they know what to look at the moment they arrive. Without that, the first ten minutes get spent listening. Here’s what to log.
Sounds worth writing down
- A sharp snap or pop – often a cable or a spring starting to fail. Stop operating.
- A grinding or scraping – roller wear or a track that’s out of alignment.
- A rattling from above the door – loose hardware in the opener rail or a lag screw that’s backed out.
- A repetitive clicking – often an opener’s limit switch; track when it happens (closing, opening, or both).
- A groaning or humming at the opener – motor strain, often from a door that’s out of balance.
Resistance worth noting
At the halfway point in the door’s travel, lift it by hand with the opener disengaged (most openers have a pull rope for this). A well-balanced door stays where you leave it, or drifts slowly. A door that drops on its own is out of balance and needs springs serviced. A door that requires a strong lift is heavy and will wear out the opener faster than it should. Log what it takes to lift, one hand or two, and whether it changes with the season. That’s a genuinely useful data point.
Grab your phone and record a ten-second clip of the door opening and closing once a season. Bring that to the technician. We’ve diagnosed doors faster from a thirty-second clip than from a twenty-minute description.
What to Check After a Severe Thunderstorm
Richmond’s storm season typically runs from late spring through early fall, and a strong thunderstorm can do visible and invisible damage to a garage door. Standard maintenance lists skip this, which is why we see post-storm issues surface weeks later as “sudden” failures. Do these checks the day after any storm with high wind, heavy rain, or lightning nearby.
- Inspect the panels for impact marks. Even small dents can bend a panel just enough to throw the door out of alignment along the track.
- Look at the ground under the springs. Storm vibration can accelerate a fatigue crack that was about to open. If you find coiled metal on the floor, stop – don’t operate the door.
- Test the auto-reverse and photo-eye sensors. Storm vibration and moisture are exactly the conditions that can push a photo-eye out of alignment.
- Look for pooled water on the garage floor. Repeated water at the base of the door is a signal for the seal and the bottom section.
- Open and close the door slowly, and listen. Any new sound after a storm is a call-worthy difference from before.
If a storm knocks out power and your opener isn’t opening, before you call, confirm the manual release has been pulled and re-engaged cleanly. That’s a common false alarm after a power flicker. If the door was fine before the storm and something structural changed, that’s when a professional inspection makes sense.
What a Professional Visit Covers That Yours Won’t
A homeowner checklist catches most of the wear. Two things it can’t do: spring and cable work, and opener repair, both of which need a trained technician and a proper safety setup. Spring work is genuinely the most dangerous repair on a residential garage door. Torsion springs are under enough tension to cause serious injury in a moment, and they fail without warning. If you suspect a spring or cable problem, do not try to inspect the spring by hand. A trained professional should handle it.
We work on every major brand homeowners in Richmond are likely to own, including Genie, Clopay, Amarr, and Wayne Dalton, so a technician arrives already familiar with the parts and the failure modes on your specific door. For an opener with a smart-home connection or a legacy unit that’s starting to misbehave, garage door opener repair covers both. For a door that needs replacement rather than repair, garage door installation runs as its own service with a free measure and a written estimate, and same-day isn’t the right promise on that job because the door has to be measured and ordered first.
If you’re dealing with a door that won’t move at all, Garage Door Repair Richmond Pros handles emergency calls where a stuck door traps a car or leaves a home unsecured. That’s a different urgency than a slow, sticky door, and it’s worth being honest about which one you have. For the routine work, garage door repair covers rollers, hinges, tracks, and panel issues. Our technicians have up to 13 years of experience, and the estimate is free.
Common Mistakes to Avoid
- Lubricating the roller wheels with a heavy grease. Grease traps grit and turns a smooth nylon roller into a dragging one. Stick to the stems and hinges.
- Testing the auto-reverse with only a broom handle. That confirms contact but doesn’t tell you whether the photo-eye is working. Test both separately.
- Ignoring small sounds. A garage door in Richmond is basically a diagnostic panel. A new rattle in July was a loose bolt in April.
- Trying to service a torsion spring yourself. The most common serious injury in garage door work comes from exactly this. Don’t attempt it.
- Skipping the post-storm check. Richmond’s storm seasons are when alignment and fastener issues surface. Skip it and they show up as a stuck door later.
- Adjusting the opener’s force limit to fix a heavy door. If the door is out of balance, boost the limit and the opener wears out faster. Fix the balance, not the setting.
- Waiting for the door to fail before inspecting. Most emergency calls are the result of a delay that started months earlier.
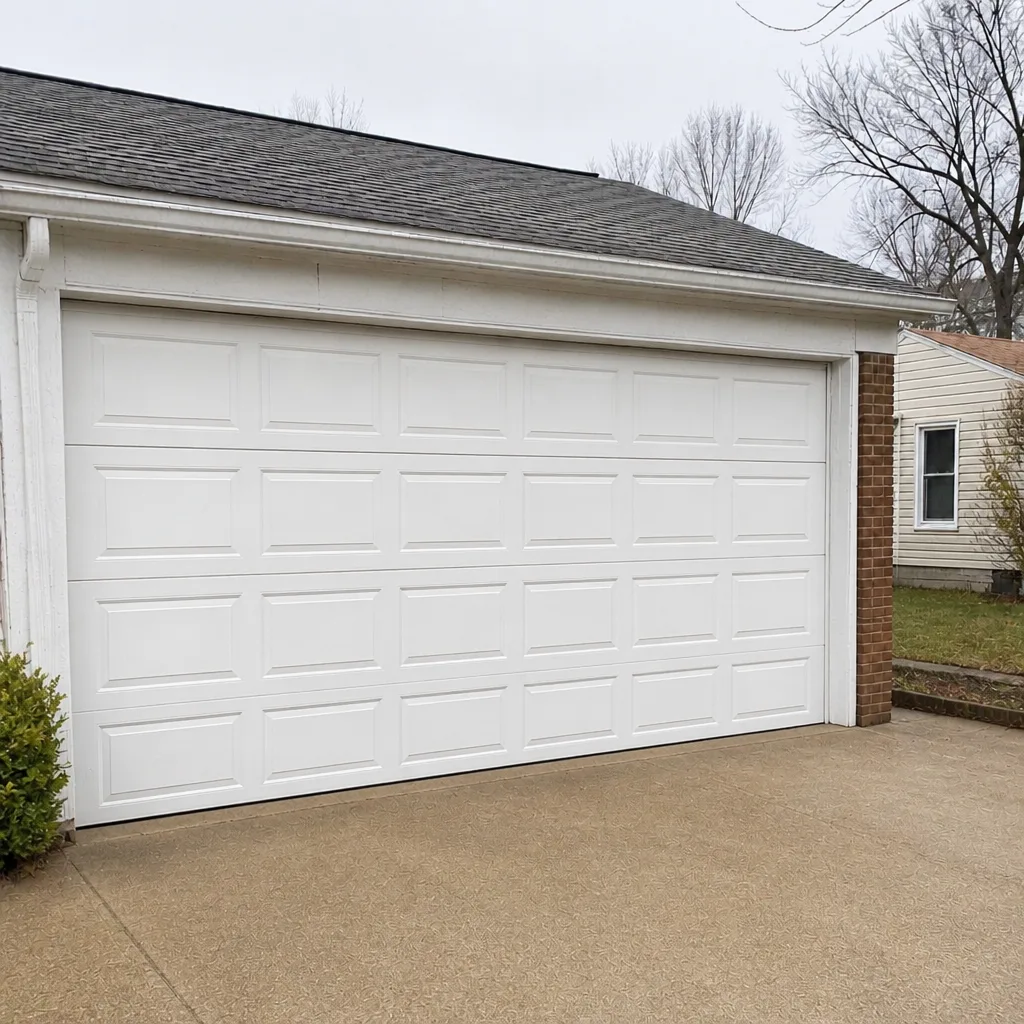
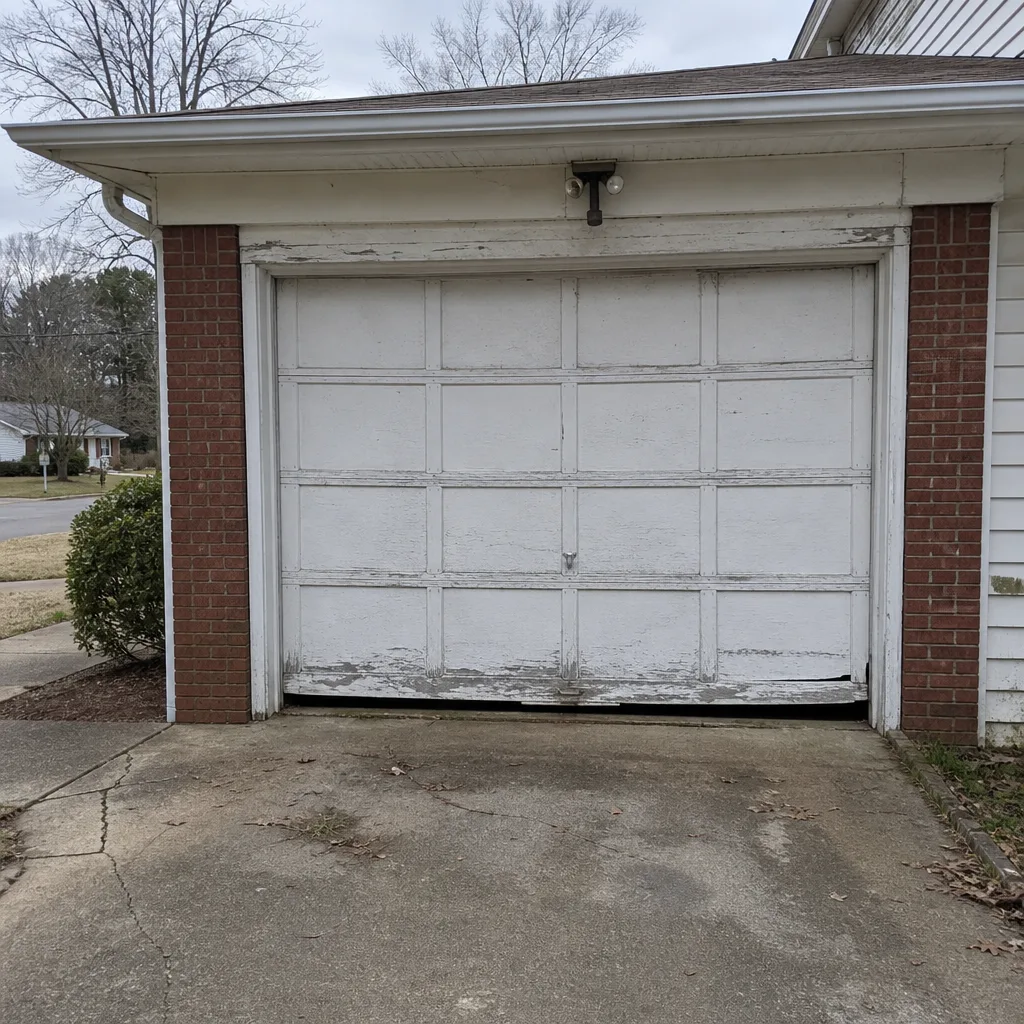
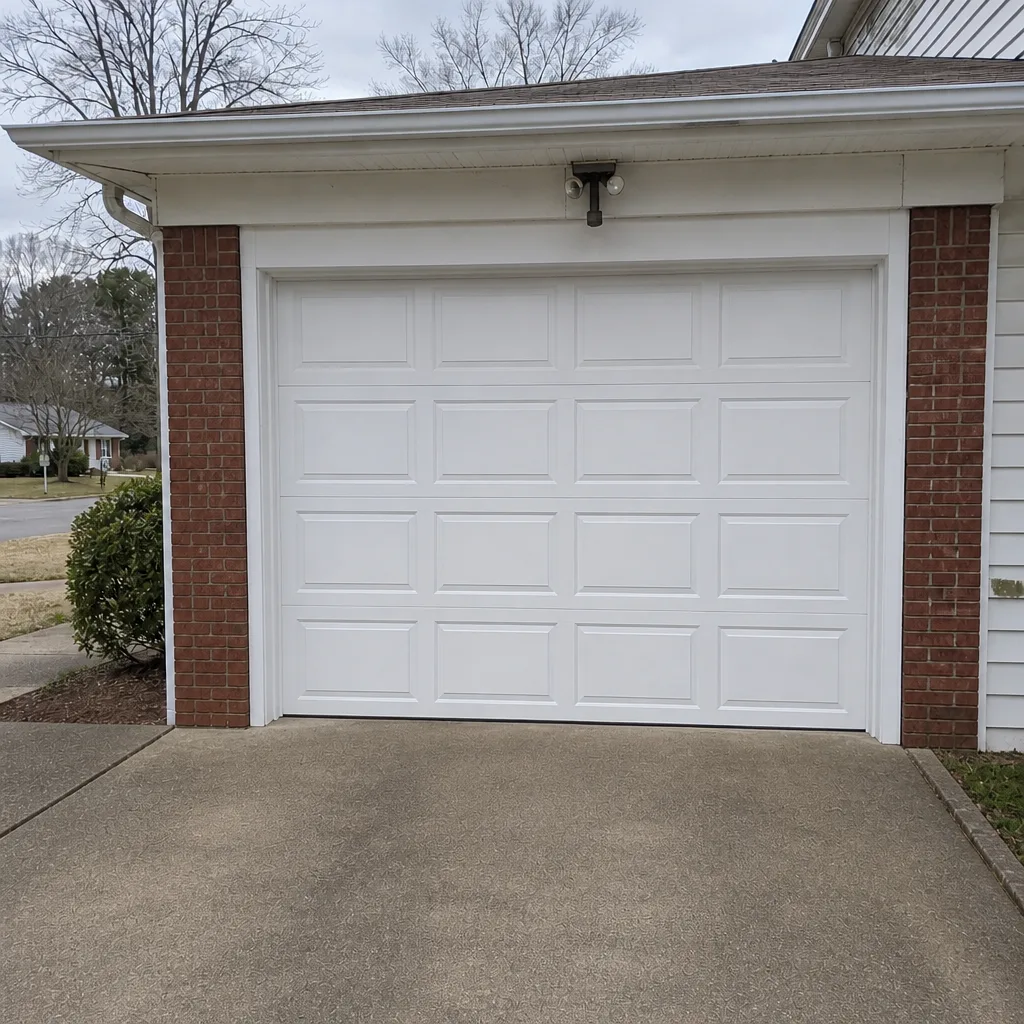
See the difference
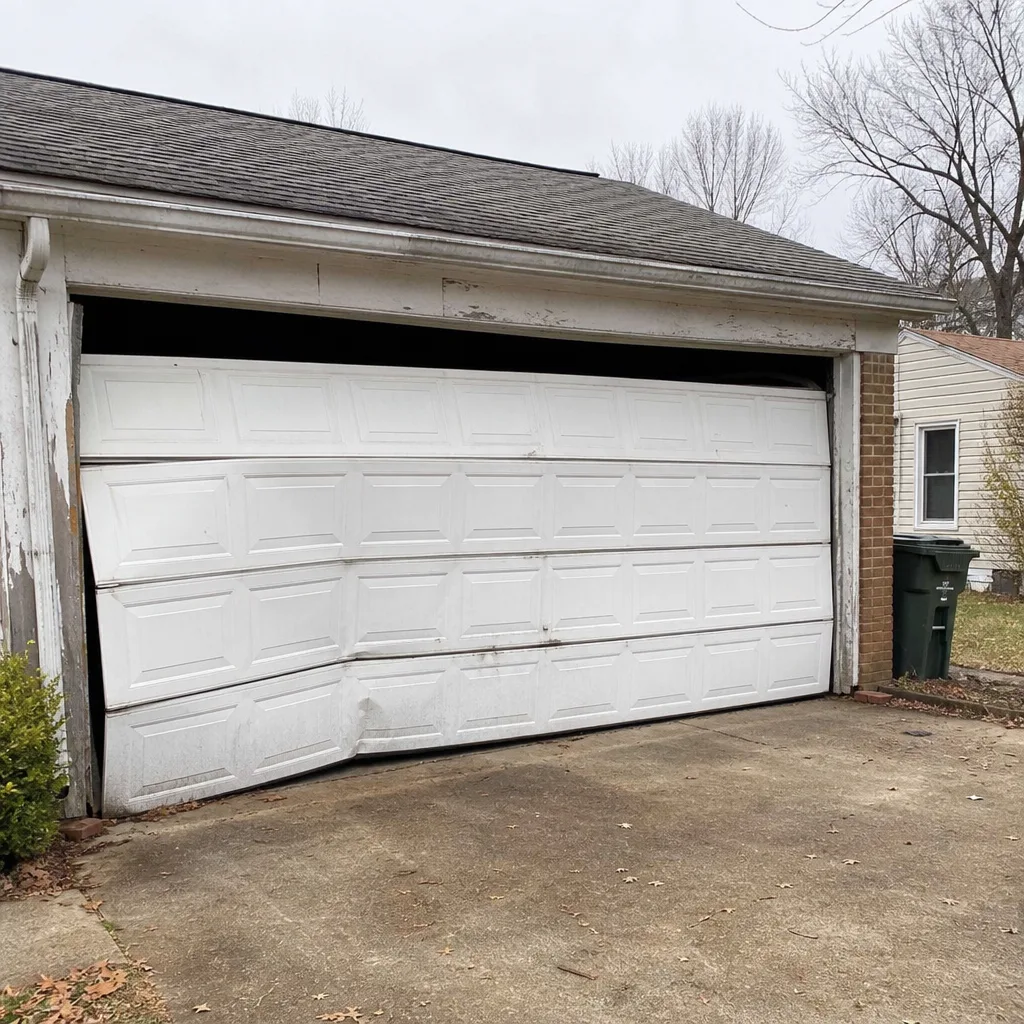 Before
 After
 Before
 After
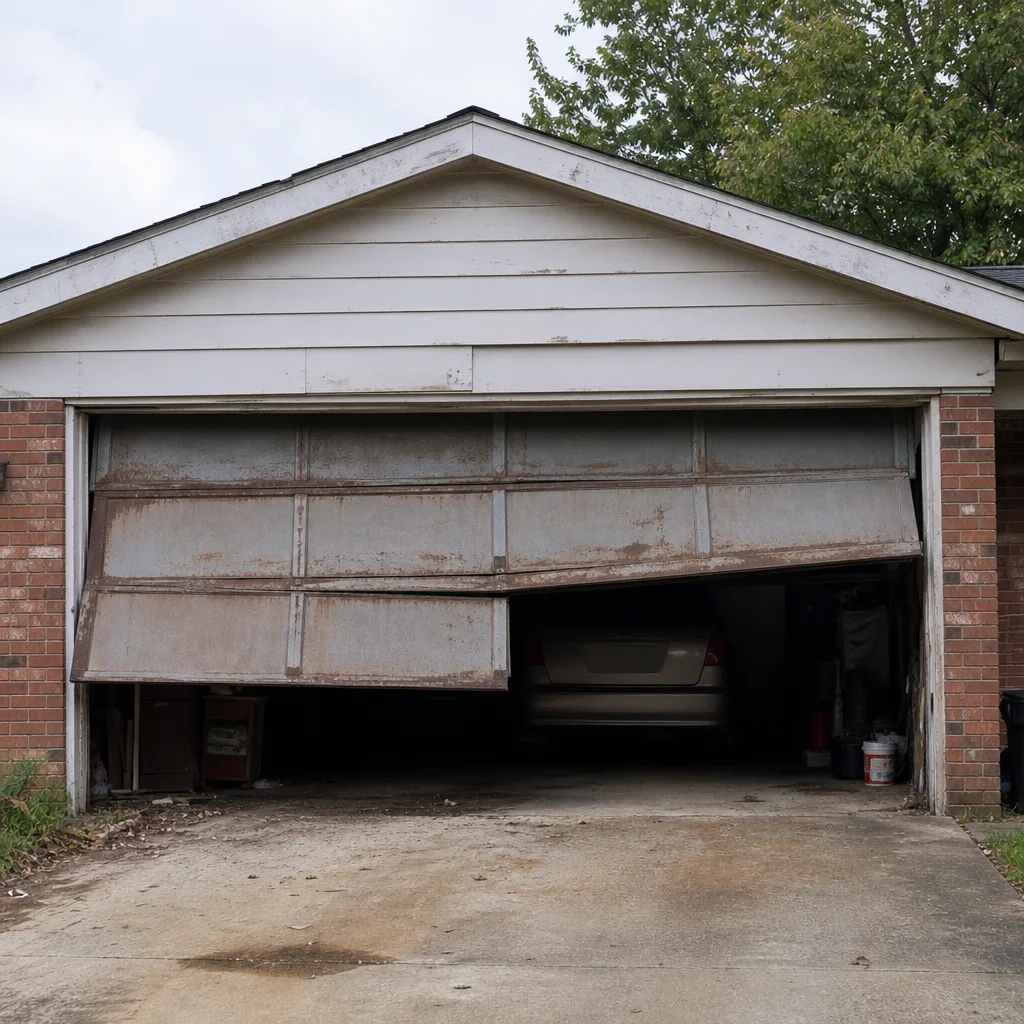 Before
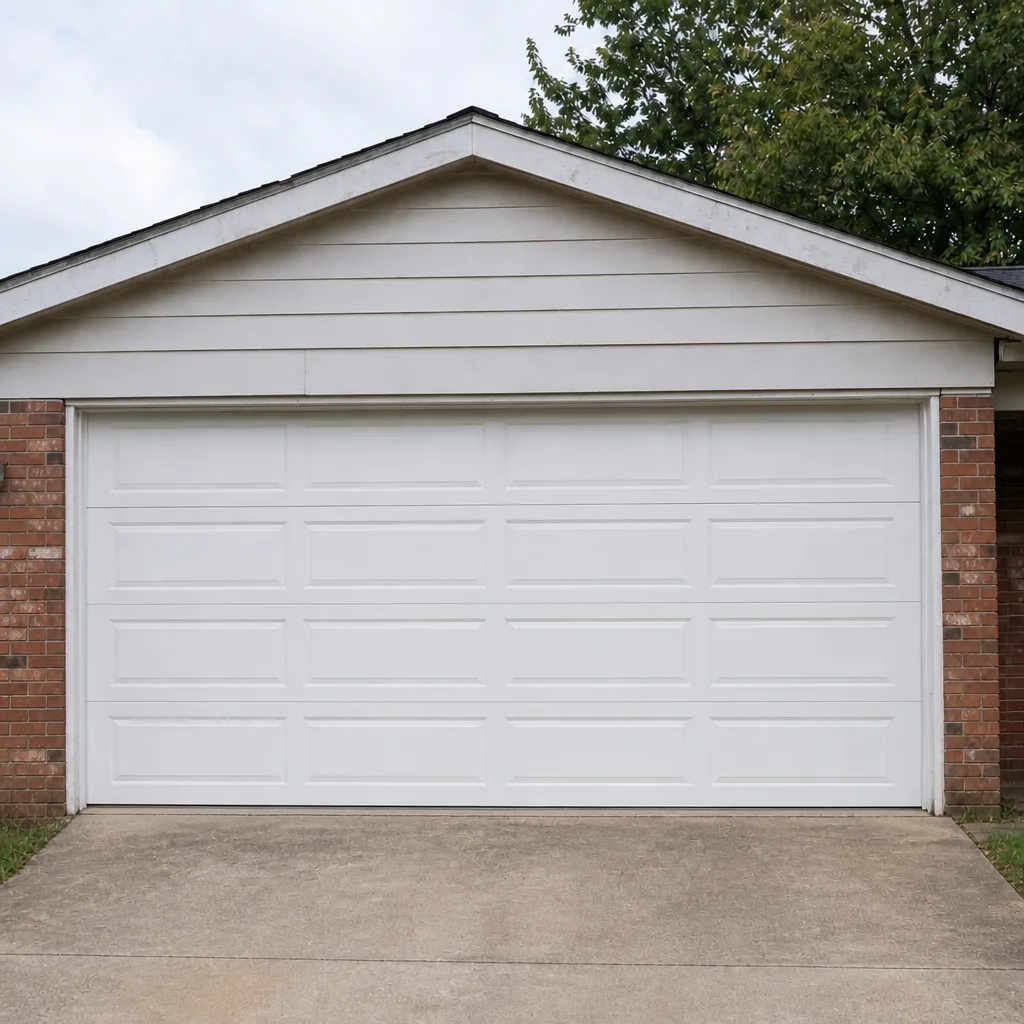 After
When to Call a Professional
Call in a professional if any of the following is true: the door doesn’t balance at the halfway point, a spring or cable looks damaged or makes a sharp sound, the auto-reverse or photo-eye test fails and re-aiming doesn’t fix it, the door stops mid-travel, or a panel has been noticeably bent after a storm. If the door won’t move at all and your car is trapped, that’s an emergency response situation and worth calling right away, not scheduling. If your door has been sticky or loud for weeks, that’s the routine visit worth booking before it becomes the emergency one. Garage Door Repair Richmond Pros offers free estimates in Richmond – call (855) 774-2730.
Frequently Asked Questions
Once a year at minimum, and twice if you do the monthly checks yourself. The proactive schedule that fits Richmond best is a full inspection each spring before the humidity climbs, plus your own quarterly lubrication and balance tests. If the door is older, has visible rust, or runs daily, a second professional visit in the fall is worth it.
You can check balance, lubrication, photo-eye function, and visual alignment. Anything touching the springs or tension cables should not be handled by a homeowner. Test the auto-reverse and photo-eyes, listen for new sounds, and take a short video of the door in motion. That’s enough context for a technician to arrive prepared.
Spring replacement typically runs $180 to $340 for a single spring, and matched pair springs are replaced together, so expect roughly double that for a pair. The written estimate you receive before any work starts is the price. Call (855) 774-2730 for a free estimate.
In many cases, yes. We handle emergency garage door calls for doors that won’t move or that compromise security. We answer 24/7, and standard dispatch runs 7am to 7pm, Sunday through Friday.
Humidity swells wood, loosens dirt into tracks, and makes metal parts drag. The two most common fixes are a clean track and a light re-lubrication ahead of the humid stretch. If the door is genuinely heavier than in spring, an out-of-balance spring is the likely cause and needs a professional look.
The written estimate is the price. We quote and agree on the work before it starts, so a surprise invoice is not part of the process. If additional problems are found once we’re on site, we stop and confirm that change before doing anything further.
The Bottom Line
Most garage door emergencies in Richmond don’t start as emergencies. They start as a loose hinge, a rusty roller, or an out-of-balance spring that a fifteen-minute quarterly check would have caught. The schedule here is built around the real Richmond pattern: a cold-snap hardware check in January, a pre-humidity lubrication pass in March, a mid-summer watch, a storm-season inspection, and a winter seal and travel check in November. Do those and most calls never happen. Handle the routine yourself, let a specialist handle springs, cables, and openers, and call as soon as something sounds different from last time. For any repair, estimate, or emergency, our team is available.
Call (855) 774-2730. We answer 24/7. Fast dispatch, 7am-7pm, Sunday through Friday. Free estimates, and the price is confirmed before any work starts.
Written by the team at Garage Door Repair Richmond Pros.